Visually Impaired Toddler Bed Safety: Setup Guide
By Maya Chen • 10th May
Visually impaired toddler bed safety begins long before a child climbs into bed. It starts with measurement. When a toddler cannot rely on sight to navigate the room, every inch of floor space, every furniture edge, and every clearance path becomes a tactile landmark. The stakes are higher in small spaces (a crowded room offers more obstacles, not fewer). Disability-adaptive toddler beds paired with intentional layout design create a secure, navigable sleep environment that lets your child move independently and safely. This guide walks you through exact setup steps using measurement-first principles and sensory wayfinding strategies.
Why Precise Layout Matters for Visually Impaired Toddlers
Children with visual impairment rely on spatial memory, tactile cues, and consistent object placement to move confidently through a room. A toy left on the floor, a dresser corner not rounded, or a bed positioned at an awkward angle becomes a genuine hazard. For room-wide hazard elimination and anchoring tips, see our childproofing and anchoring guide. Unlike sighted toddlers who can spot and avoid an obstacle, a visually impaired child needs the room itself to communicate: "Here is safe. Here is my path. Here is where you sleep."
Research on sleep in blind children confirms that consistent sensory input (touch, familiar sounds, and predictable room structure) helps establish strong circadian rhythm anchors beyond light-dark signals. A well-planned room layout reinforces these anchors nightly.
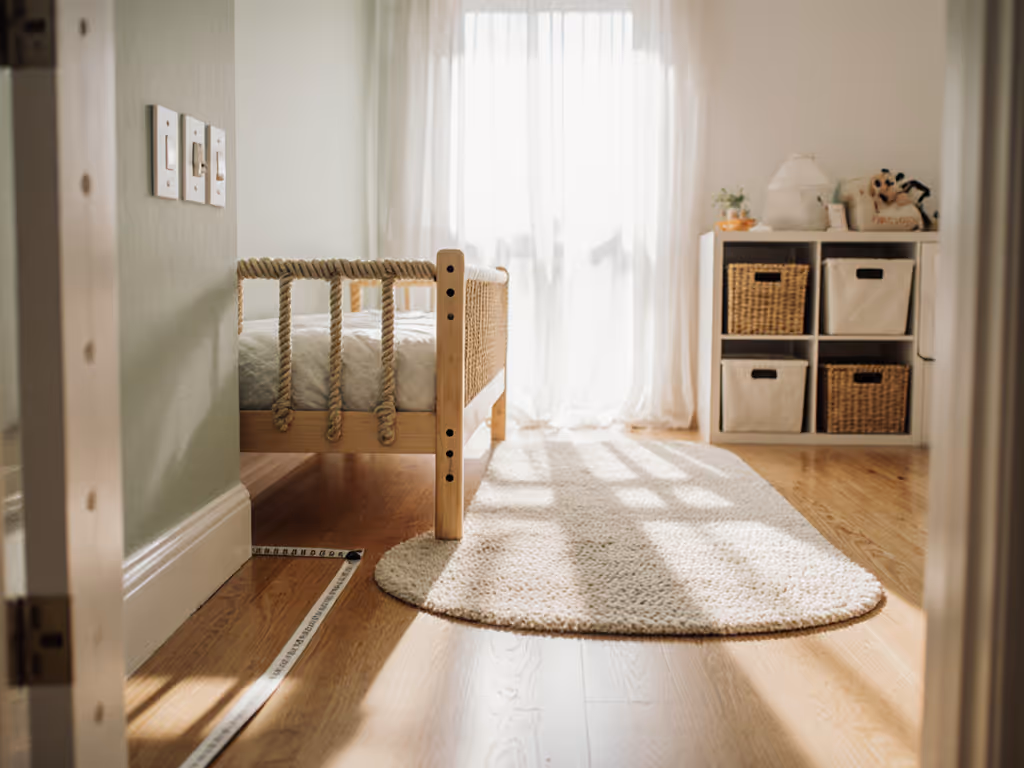
The most effective bedroom setups share one trait: they remove clutter and create pocket floor space by pairing a low-profile bed with intelligent storage and clear navigation corridors. On a Tuesday site visit, I watched a parent insist that nothing else could fit in a 9×10 ft room already occupied by a crib. We taped out a low bed, slid rolling drawers underneath for under-bed storage, and pivoted the dresser perpendicular to the wall. The center of the room opened up. Within days, the child's tactile exploration expanded, there was space to move safely from bed to door without a mental obstacle course.
Step 1: Measure and Map Your Clearance Paths
Before selecting a bed, define the paths your child will take nightly.
Exact measurements and pathways:
- Measure the full room (L × W × H to ceiling). Include doorway width, closet swing, heating vents, and light fixtures.
- Identify mandatory passages: the route from bed to bedroom door, bed to bathroom if nighttime bathroom visits are part of the routine, and any shared-space paths if siblings are present.
- Mark a 36-inch minimum clearance corridor (wheelchair and mobility-aid standard, but equally valuable for tactile wayfinding). This is your baseline safe walking path. Nothing should protrude into it.
- Test tactile transitions: Walk the paths yourself with eyes closed. Note where texture changes (carpet to hardwood, for example) occur. These become natural boundary cues for a visually impaired child.
- Photograph the layout (from above if possible, or from bed height) and annotate measurements. This becomes your reference and troubleshooting tool.
Measure twice, visualize bedtime paths, then choose what fits. This is the foundation of adaptive small-space design.
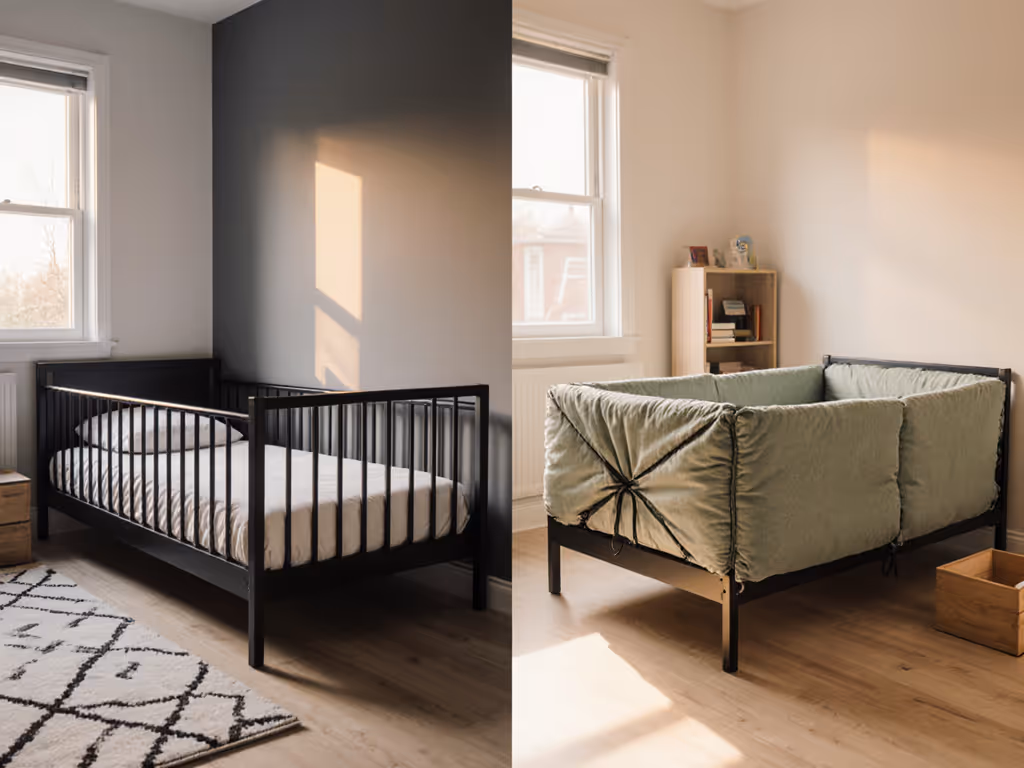
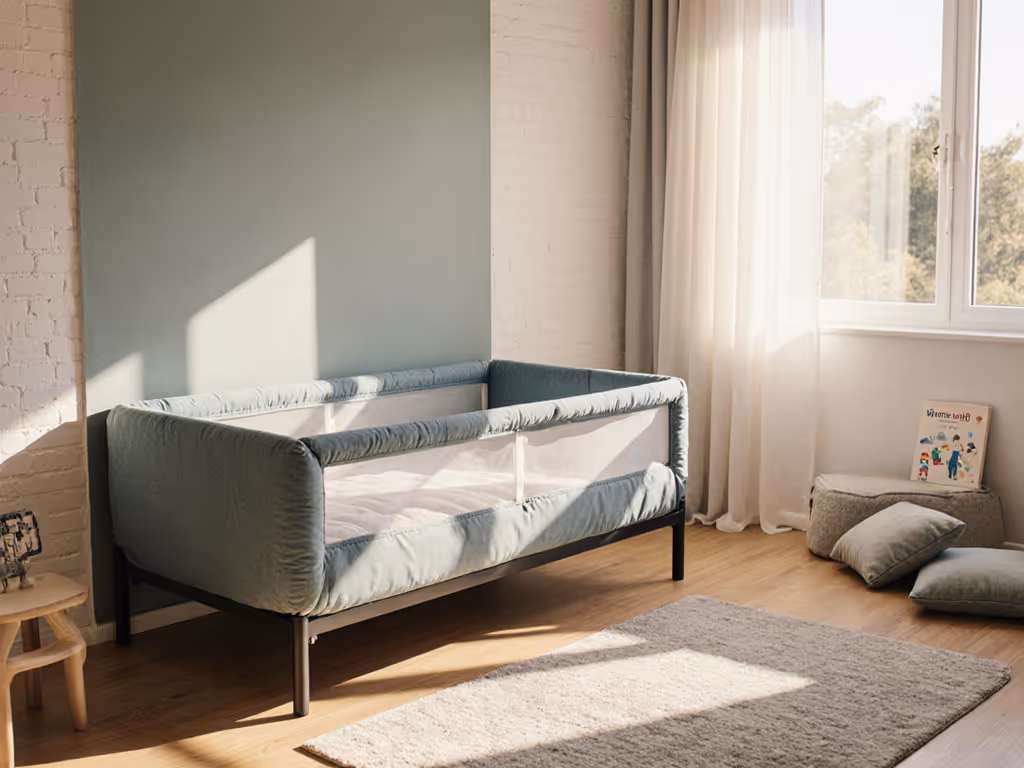
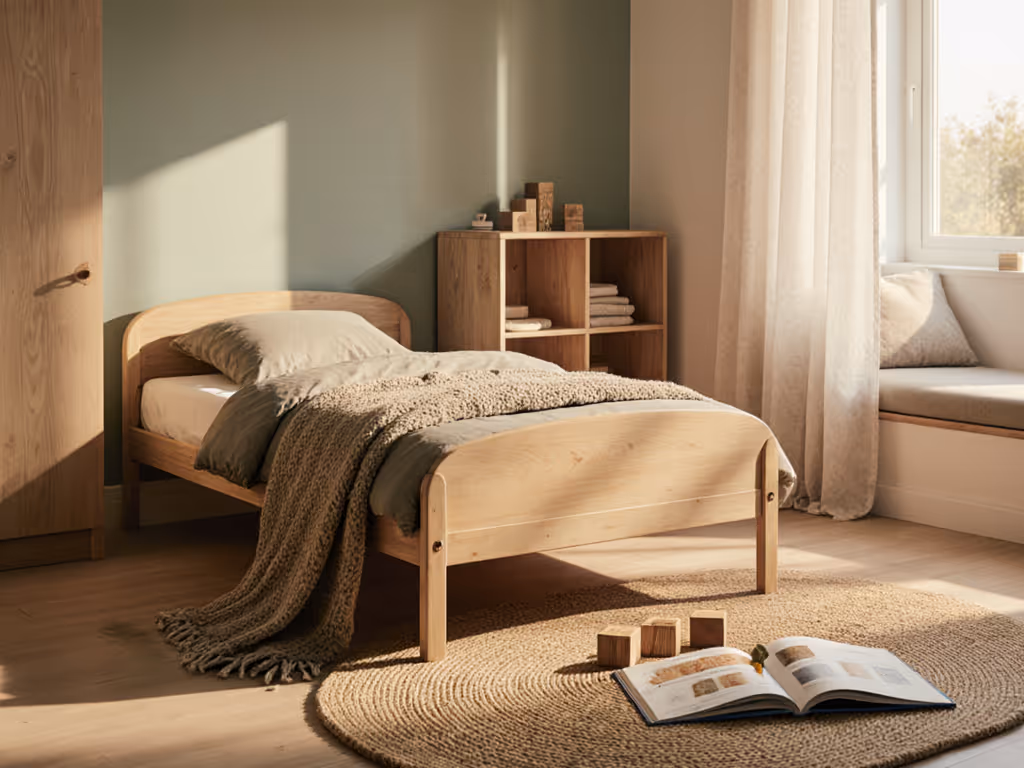
Step 2: Select a Low-Profile, Stable Bed Frame
Bed height is the first safety parameter. A low-profile frame (typically 8-12 inches from floor to mattress top) minimizes roll-out injuries and makes it easier for your toddler to climb in and out independently.
Exact specifications to evaluate:
- Frame footprint (L × W): Standard toddler beds are typically 52"L x 28"W. Twin-size options run 38"W x 75"L. Measure your intended bed location and confirm at least 12 inches of clearance on at least two sides for circulation.
- Mattress support slats: Confirm the bed uses widely-spaced slats (no more than 2.75" apart per safety standards). This prevents small limbs from becoming trapped and keeps the mattress surface level.
- Frame weight and wobble: Rock the frame gently. Sturdy beds have minimal lateral movement. A wobbly frame is a fall risk and creates noise that disrupts sleep. Steel or hardwood frames outperform particleboard in stability.
- Guardrail design: Guardrails must be firm, securely fastened, and spaced so small heads and limbs cannot fit through (no more than 3.5" gaps). Test by inserting your fingers. You should not be able to wedge more than two fingers between rail and mattress edge. For guardrail height and gap standards, see our 5-inch guardrail rule.
- Corner and edge radius: Run your hand across every edge the child will encounter. All corners should be rounded (minimum 0.5" radius). Sharp edges are hazards during sleep transitions and nighttime climbing.
Step 3: Install Tactile Boundary Markers
Visually impaired toddlers use their hands and body to understand room boundaries. Create consistent tactile landmarks that signal "bed space" and "outside the bed."
Tactile bed safety features:
- Raised fabric edge trim (3-4 inches wide, attached to the bed perimeter): Use a textured, non-slip material like minky dots or embossed cotton. This signals the bed's outer edge and gives tactile warning before a child rolls too far.
- Distinct mattress fabric: Choose a mattress cover with a notably different texture from the trim or blanket texture (smooth vs. dimpled, for example). Your child learns: "Smooth means the sleeping surface; bumpy edge means I'm near the boundary."
- Bumper pad (safety-certified, breathable design): Modern bumper pads for toddler beds use mesh inserts to reduce SIDS risk while providing a soft, tactile boundary. Secure firmly so it does not slip.
- Headboard with tactile dividers: If your bed frame includes a headboard, add textured decals or soft foam squares at hand height (12-18 inches). These become tactile landmarks. Your child learns the bed's orientation by touch.
Step 4: Organize Under-Bed Storage Without Sacrificing Safety
A bed with 8-12 inches of clearance is perfect for rolling storage drawers, but only if they do not protrude into walking paths when open. If you're considering integrated drawers, compare toddler storage beds with safe low heights.
Storage-safety checklist:
- Drawer dimensions: Measure the exact space under the bed (L × W × H). Most under-bed rolling drawers are 14-16 inches tall. Confirm they fit without forcing and do not catch on frame supports.
- Placement strategy: Install drawers on the side facing the wall or the side of the bed nearest the room perimeter, never beneath the foot end that faces walking paths. When drawers roll out, they must not obstruct the clearance corridor.
- Drawer handles: Use recessed or loop-style handles, never protruding knobs. Protruding hardware becomes a shin strike hazard during night navigation.
- Content and labeling: Store only off-season or seldom-used items (extra bedding, seasonal clothing) in under-bed drawers. Primary everyday clothes should be in a low, accessible dresser. Label drawer fronts with tactile stickers or Braille labels if family members read Braille.
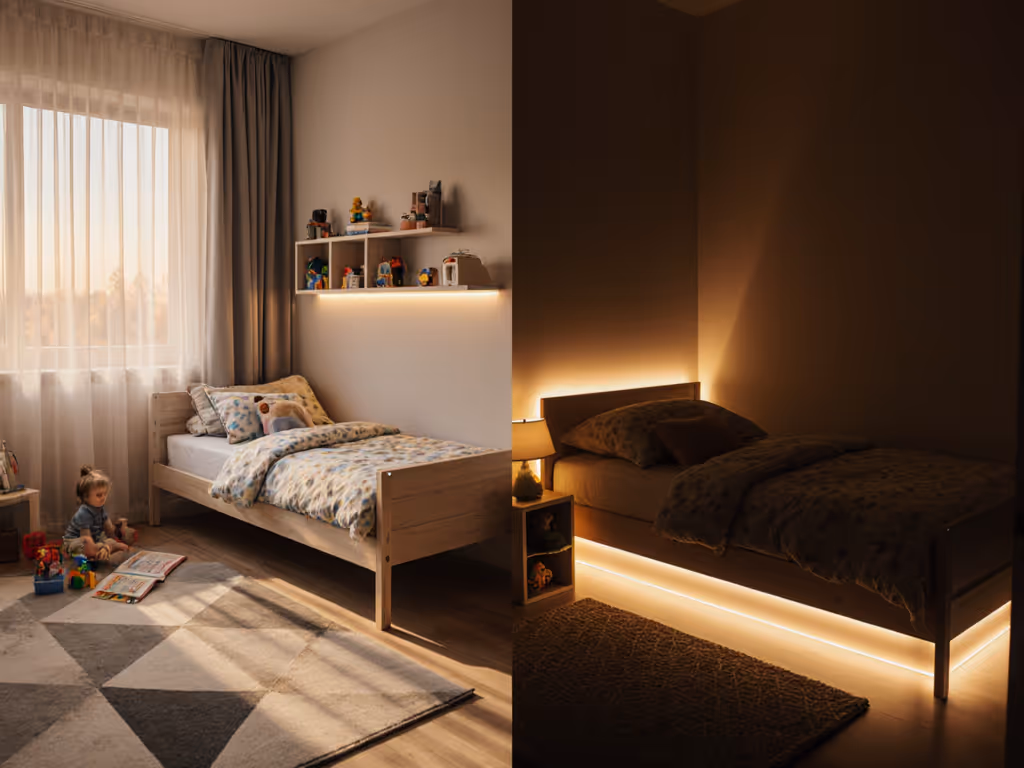
Step 5: Create Sensory Navigation Aids
Beyond the bed itself, the bedroom becomes a navigable space through consistent sensory anchors.
Spatial awareness for blind toddlers:
- Textured floor markers: Place a small textured mat (6x6 inches, minky, or rubber) directly beside the bed where your child's feet touch floor when exiting. This tactile cue signals "safe landing zone."
- Acoustic landmarks: Research shows that familiar, consistent sounds help establish circadian anchors without relying on light perception. Use a soft white-noise machine or sleep sound only at bedtime and throughout the night (not during play). This auditory boundary reinforces "now is sleep time."
- Olfactory cues: A subtle, consistent scent (unscented baby wash or a drop of diluted lavender oil on a corner of the pillowcase, away from the face) paired with bedtime routine creates a multisensory anchor stronger than light or dark alone.
- Wall-edge trailing guide (optional, for larger rooms): A smooth rope or cord mounted 18 inches high along one wall creates a tactile pathway from bed to door. Your child can trail their hand along it for navigation reassurance.
Step 6: Test Spatial Awareness in Real Conditions
Once the bed is installed and the room is setup, conduct a safety walkthrough.
Execution checklist:
- Walk the room in very low light or with eyes closed. Identify any unexpected obstacles, protruding edges, or gaps you missed during planning.
- Simulate nighttime routine: lie in the bed, exit as your child would, and walk to the door. Is the path clear? Are there any catch points?
- Open and close drawers, dresser, closet, and door. Confirm nothing strikes the bed or interferes with movement.
- Sit at child eye level (or lower) to see the room from their vantage point. Are guardrails stable? Is the mattress surface level and firm?
- Time the assembly and confirm all hardware is tight (re-check bolts after 1 week of use and monthly thereafter). For an ongoing safety checklist and tightening schedule, use our toddler bed maintenance guide.
Summary and Final Verdict
Visually impaired toddler bed safety is not about adding special equipment, it is about thoughtful spatial planning and multisensory consistency. Exact measurements, clear pathways, a stable low-profile frame, and tactile landmarks create a bedroom where your child can sleep independently and navigate confidently.
The small-space advantage is real: compact rooms force intentional design. When every object has a purpose and every inch is accounted for, there is nowhere for hazards to hide. A crowded room with excess furniture and clutter is exponentially more dangerous than a purposefully arranged small room.
Start by measuring your clearance paths and bed location (L × W × H). Choose a low-profile bed with secure guardrails and rounded edges. Add tactile boundary markers. Organize storage without compromising walkways. Introduce sensory navigation cues: sound, scent, and texture. Test in realistic conditions.
This approach respects both your child's independence and your family's spatial reality. When tactile bed safety features are built into a logical room layout from day one, bedtime becomes predictable and movement becomes safe: no trial and error, no regret purchases, just a room that works twice as hard, inch by inch.
Related Articles